Cardiff-based LEGO animator Will Osborne teaches us how to make a ‘Brickfilm’: a LEGO stop-motion animation.
Have you ever wanted to make a LEGO stop-motion video, but didn’t know where to start?
LEGO videos, or ‘Brickfilms’, as they’re called, are an art form made using the immensely popular LEGO interlocking brick system. They were also the inspiration behind the successful 2014 film The Lego Movie.
Let’s make our very own Brickfilms together with the help of ‘brickfilmer’ Will Osborne, head of Light on the Water Studios based in Cardiff.
“I started animating stop-motion films in 2014, and animated my first Brickfilm in the January of 2015,” says Osborne. “I’m always working on new projects. I consider myself a filmmaker first and foremost and put a lot of passion into each project I make.”
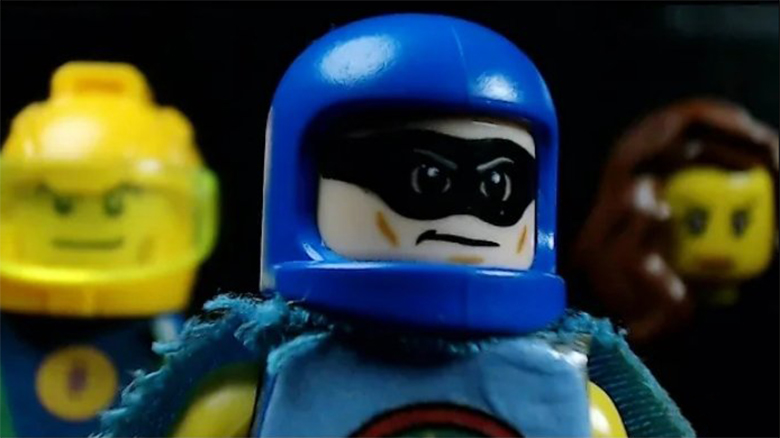
LOTW Studios is known for their webseries App Man, a Brickfilm series about a banker who obtains a super-powered smartphone with which he uses to fight crime. They also have a bi-weekly podcast series called The World of Brickfilms, in which they interview other brickfilmers.
So how do we make a Brickfilm?
Well first, we’re going to need some Legos.
Step 1: Setup

A film is nothing without a story. It doesn’t matter how long the story itself is, but there does need to be one: regardless of whether it’s a long epic or a half-minute short.
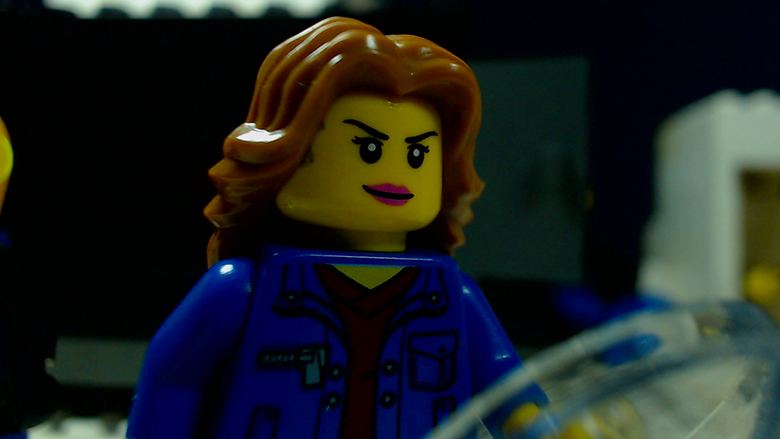
For my Brickfilm, I’m going to do a simple clip of a performer singing a song.
Next, we’ll have to build a set. You can build it using Legos, like on Osborne’s App Man, or you can use some things lying around the house like I did.
“I prefer to build my sets with Legos, because it’s much easier to keep the figures still while filming,” says Osborne. “Then I fasten anything that won’t be moving with tape. It’s completely alright if you don’t want to use Lego to build your set, but make sure everything is fastened. I cannot stress this enough. Keep things fastened, it will prevent a lot of frustration later on.”
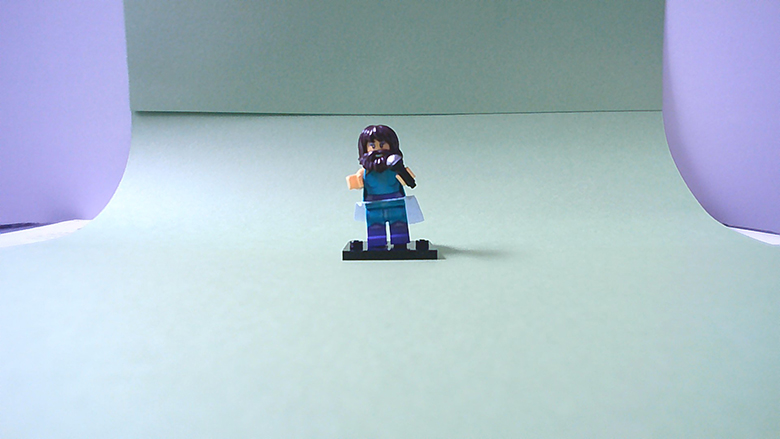
I built my set using a box and some green cardstock for the backdrop. As per Osborne’s advice, I fastened everything with tape and Blu Tack.

Step 2: Camera
We will now need something to capture the film. Osborne uses an expensive DSLR, but you can use a smartphone or tablet camera.
“You can use any camera you like,” says Osborne. “The trickiest thing to remember is to keep the camera steady, so there isn’t any shaking. You’ll need a tripod, and something to capture the frames without touching the camera, like a remote.”
For my clip I’ll be using my laptop’s webcam. Since I use an external webcam, I can position it anywhere and take the pictures using the Windows camera app.
Step 3: Capturing
Now, we need to capture the frames. Make a small movement, then take a picture. Make another small movement, then take another picture. And so on and so on.
“The number of pictures you’ll need depends on how smooth you want the animation to be,” says Osborne. “Let’s say you’re making a 30-second clip. A reasonably smooth animation would be 15 frames-per-second, so that’s a total of 450 pictures. If you want it to be as smooth as a movie, then it’s 30-frames-per-second, which means a total of 900 pictures.”
“This is easily the most time-consuming part of the process,” said Osborne. “But it’s alright, really. The results are rewarding enough to bear it.”
I myself wound up with just 36 pictures, but I will be recycling some of them so it’s fine.
Other tips Osborne mentioned were:
- Make sure the camera faces the front of the minifigures and not the top; this is a mistake most beginners make.
- Try to use artificial lighting (like desk lamps) as much as possible, since we cannot predict how the sun and weather will behave.
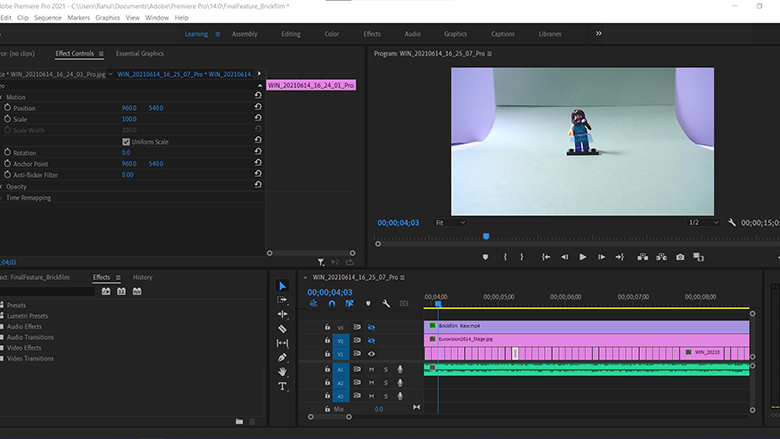
Step 4: Putting it all together
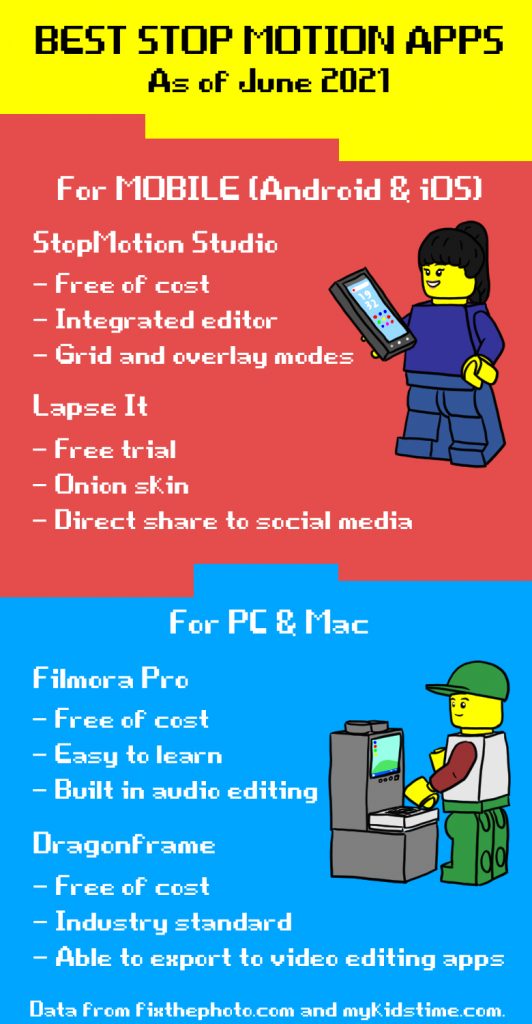
The final step is editing: putting it all together. Osborne uses a software called Hitfilm Pro which costs £300, but there are others which you can use for free. Here are some of them:
I myself used Adobe Premiere Pro, but only because I’ve been using it for years. Neither I nor Osborne recommends it for someone just starting out.
You may also want sound effects and music. Osborne recommends zapsplat.com for sounds, and incompetech.com for music. It’s all free, though Kevin MacLeod, the owner of incompetech, does require that you credit him.
“If I can’t find a decent sound effect on Zapsplat, then I just try to do it myself,” says Osborne. “For example, the footstep sounds on App Man were all made by me stamping about my back garden in my wellies.”
For my clip, I used one of my own songs called The Ox Song.
The Final LEGO Brickfilm
I used a green screen effect because I didn’t have any of my Lego sets with me. I had to improvise. And Osborne himself says that I did pretty well, considering this was my first attempt.
“This is a time-consuming, but very rewarding hobby,” says Osborne. “My films take a while to make, but I love every minute of it.”
So, what are you waiting for?
Time to get creating!